...
- In the calendar service, click the "Events" tab
- Click "Events: Add".
- Fill out the event name.
- Select the category/subcategory that best fits your event with the drop-down menu.
* If there are multiple categories the event applies to, click "Select Multiple". If you select multiple, a screen will pop up where you can check off the categories you want the event to be under. Check those off and then click "Submit".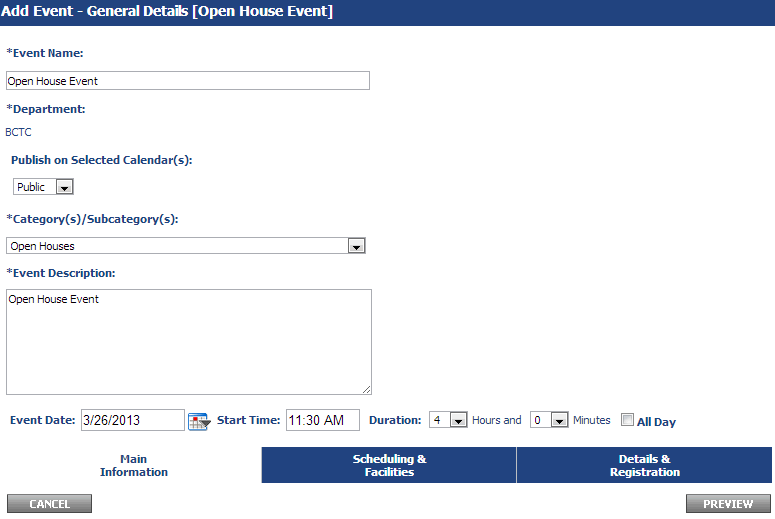
- Fill out the event description
- For the event date, start time, and duration, you can opt to fill it out here or in the next screen under "Scheduling & Facilities".
- Click the next tab "Scheduling & Facilities" to proceed to the next screen.
Following the upgrade of the Calendar software you will notice a couple of changes within the "Event - Add and Modify/Cancel/Delete" area. The first change involves the "Schedule & Facilities" tab. A description of the change and instruction in the use of the new functionality is included below. The second change is the inclusion of a new "Request Resources" tab. The functionality related to the "Request Resources" tab is not currently in use, so please ignore this option for now.
The Scheduling & Facilities Tab
The most important changes deal with selecting a facility or room for your event. As you can see, there are now three new options in the "Scheduling & Facilities" tab:
- Select Event Date(s) - (No Facility Required)
- Pick this option if your event does not have a room.
- Select Event Date(s) to find available Facilities
- Pick this option if your event has a room.
IMPORTANT - Please note that many of the rooms are not set up with schedules so the use of the availability data will not be 100% accurate. If you are planning to select a room for your event that is not "owned" by your unit, please be sure to verify availability and obtain permission from the room owner prior to selection.
- Pick this option if your event has a room.
- Select Facility to find available Date(s)
- Pick this option if you do not have an event date in mind and wish to see the availability of a room.
IMPORTANT - Please note that many of the rooms are not set up with schedules so the use of the availability data will not be 100% accurate. If you are planning to select a room for your event that is not "owned" by your unit, please be sure to verify availability and obtain permission from the room owner prior to selection.
- Pick this option if you do not have an event date in mind and wish to see the availability of a room.
If you filled out the event date, start time, and duration, you will find it populated on the screen here. If you opted not to, fill it out the Start Date / End Date fields and the Start and End times under "Event Time(s)".
After you've selected a facility option, click "Generate Schedule".
Please read the appropriate section below depending upon the facility option you've selected.
Select Event Date(s) - (No Facility Required) Option Selected
If you've picked "Select Event Date(s) - (No Facility Required)", you will not see anything new and can proceed to the "Details & Registration" tab to finalize your event details.
Select Event Date(s) to find available Facilities Option Selected
If you've picked "Select Event Date(s) to find available Facilities", you will see the facility search and some other options (room type, features, setup). Ignore these other options and select a room as you would've in the previously in the Calendar service.
Once you've selected a room, click "Search". You will then see a new area called "Available Room(s)". Click the checkbox under "Select" for the room and click "Save".
IMPORTANT - If you receive an error after searching the room that states, "There are no rooms that match your search criteria or can be scheduled for this event." Please make sure that someone has not already entered the event you wish to add into the Calendar system. You can do this by looking at the public calendar http://www.baruch.cuny.edu/calendar for the event date and time. If there is no such event, please make sure you have authorization to use this room. If you do, please contact help desk and we will look into this.
You should see the room now listed in the "Schedule Facility Booking(s)" area. This means the room is now attached to your event and you can proceed to the "Details & Registration" tab to finalize your event.
If you have multiple occurrences of the event (for instance, five open houses with identical event titles/descriptions), click "Custom Schedule" and select the dates.
After choosing your event dates click "Generate Schedule". This will update the screen and allow you to select a location for the event.
If your event has multiple dates, you can select a different location for each event date by checking off each date that will be using the same room.
If you have multiple event dates that will have the same room, check those off.
In the image below, the same room will be booked for the dates 3/28 and 3/30 therefore those event dates have been checked off.
Select Facility to find available Date(s) Option Selected
If you've picked "Select Facility to find available Date(s)", you do not have an event date set for your event. This option will allow you to see which rooms are open at different dates and times.
Only the following search options are applicable at the moment:
- The facility(s) area allows you to search against the room schedules for one or more specific rooms or buildings. If I select "Newman Vertical Campus", I will see room schedules for all rooms listed in the calendar that are in the Newman Vertical Campus. If I select a specific room such as "Room 3-216" under the NVC, I will only see the room schedule for that particular room.
- "Search for Date" will allow me to see the room schedules for the facility(s) specified for the specific dates specified here. If a room is not open on the dates specified, it will not show up in the search.
- "Search for Time Slot" will allow me to see the room schedules for the facility(s) specified for the time slots specified here. If a room does not have an opening with the time slot specified, it will not show up in the search.
To select a room or rooms, check them off and then click "Save Schedule". You will now see the Selected Facility(s) area.
...
Add the start time and end time that you desire for your event and then click "Save". You will then see the room that you previously picked show up with the slot booked for the time slot. You may now proceed to finalize your event in the "Details & Registration" tab.
xxxxxxxxxxxxxxxxxxxxxxxxxxxxxxxxxxxxxxxxxxxxxxxxxxxxxxxxxxxxxxxxxxxxxxxxxxxx
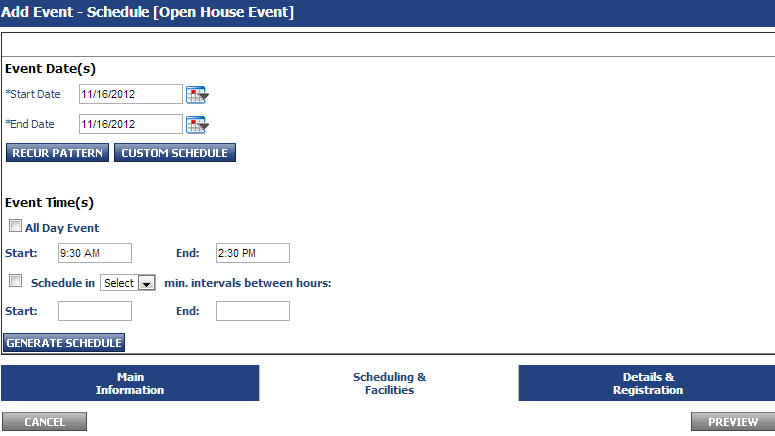
- If you filled out the event date, start time, and duration, you will find it populated on the screen here. If you opted not to, fill it out the Start Date / End Date fields and the Start and End times under "Event Time(s)".
- If you have multiple occurrences of the event (for instance, five open houses with identical event titles/descriptions), click "Custom Schedule" and select the dates.
In the example below, I've selected 1/18, 1/19, and 1/20.
- When you are done with steps 8 and/or 9, click "Generate Schedule". This will update the screen and allow you to select a location for the event.
If you have multiple occurences (event dates), you can select a different location for each event by checking off each event that will be using the same room and proceeding with the steps (11-12) below.
The example image below would allow me to select a location for the 1/19/2013 event.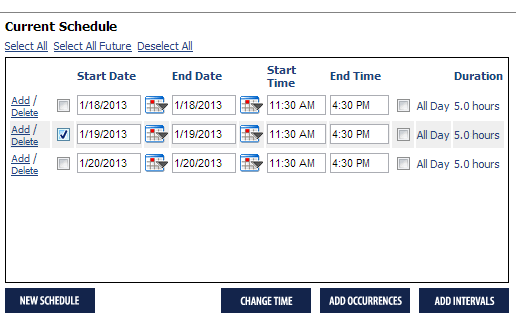
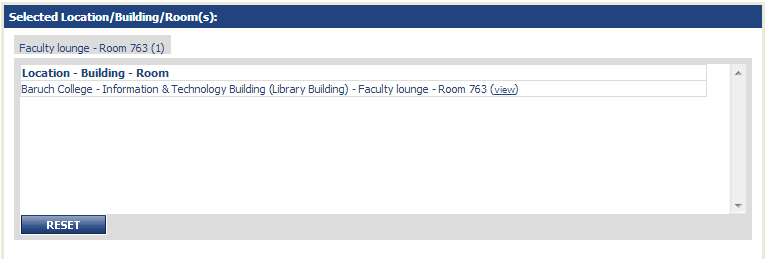
- Midway through the page, you should see a Location/Building/Room(s) checkbox list. Only check off the room that the event is on (do not check off the location/building if you have a room). If there is no specific room for the event, then check off the building. If the room the event is in is not listed, please submit a request to the BCTC Help Desk to add it.
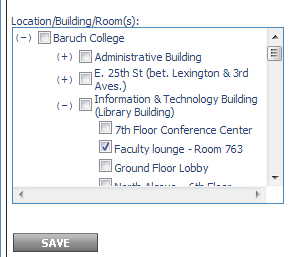
- Once you've selected the location. Click "Save". Upon saving, the location should be reflected similar to the image below.
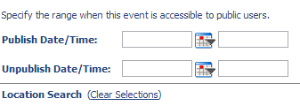
- If you would like the event to only be displayed during a certain date range, visible after a certain date, or hidden from the calendar after a certain date, fill out the following section:
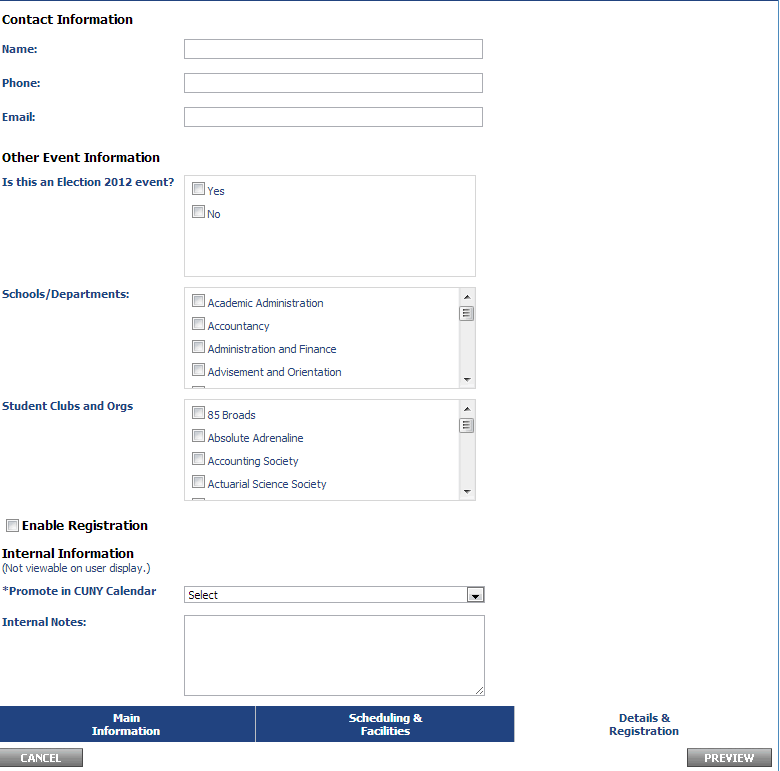
- Click on the next tab "Details & Registration"
- Fill out the contact information. For the other three boxes under "Other Event Information", check them off if it is appropriate for your event. For example, if it is a school or department event, check off the school or department that is holding it. If you do not find your school or department in the list, please send a request to the BCTC Help Desk to have this added.
- If you would like your event listed in the CUNY Calendar (http://events.cuny.edu/ ), select "Yes. Make this event visible in the CUNY Calendar" for the "Promote in CUNY Calendar" box.
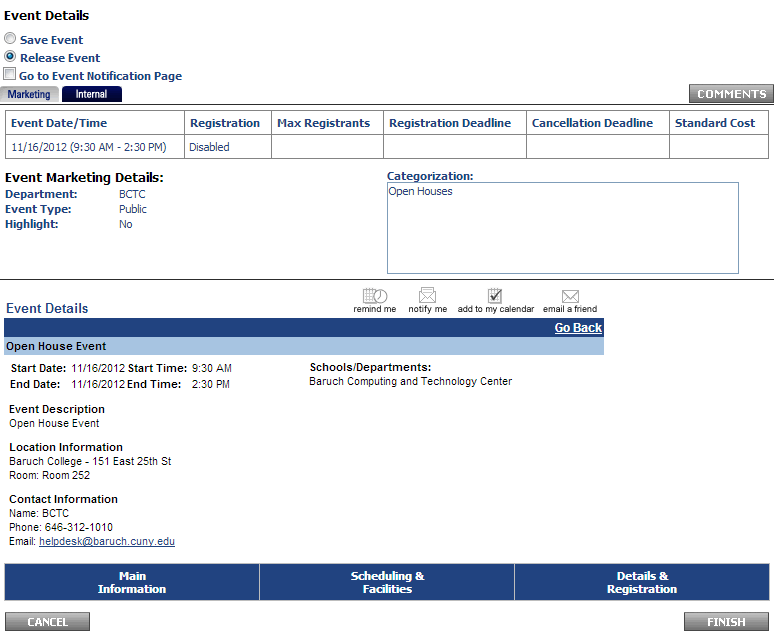
- Click "Preview"
- On the preview screen you can opt to save the event or release the event. If you save the event, it will not be published to the calendar and will only be viewable in your account. If you release the event, it will go into the calendar. The event details area shows a preview of what your event looks like in the calendar.
- Select save or release event and then click "Finish".
...